Navigate to https://www.klearfx.com and click the Login link at the top of the page.
Type your credentials provided to you by KlearFX. ( You can signup by clicking here. REGISTRATION if you need an account)
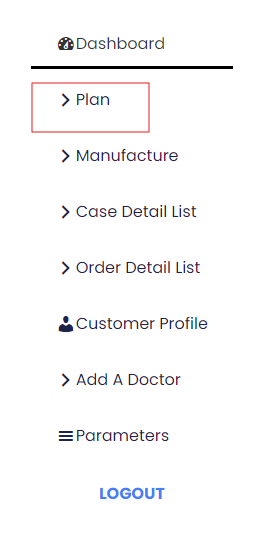
Click the Plan link on the navigation bar to the left as per the picture below
By default, you will be redirected to the Submit New Case form
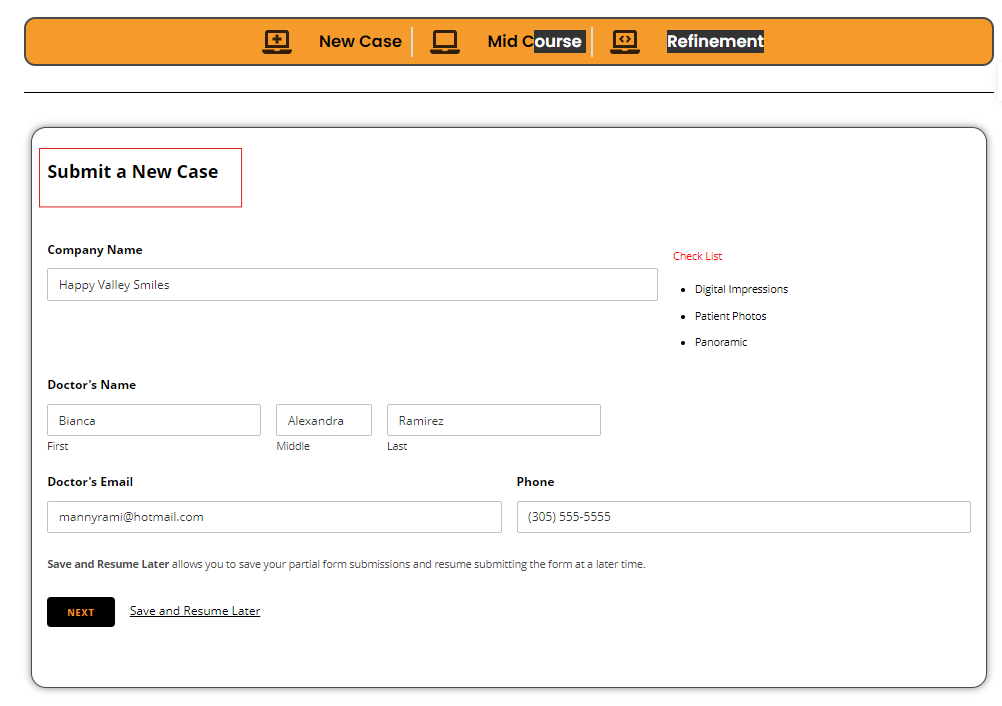
Fields with astricks are required. Also make sure that doctor’s name, email and phone number are correct. If the information is incorrect.
Please use the Customer Profile Module link in the navigation bar to make the changes accordingly before continuing
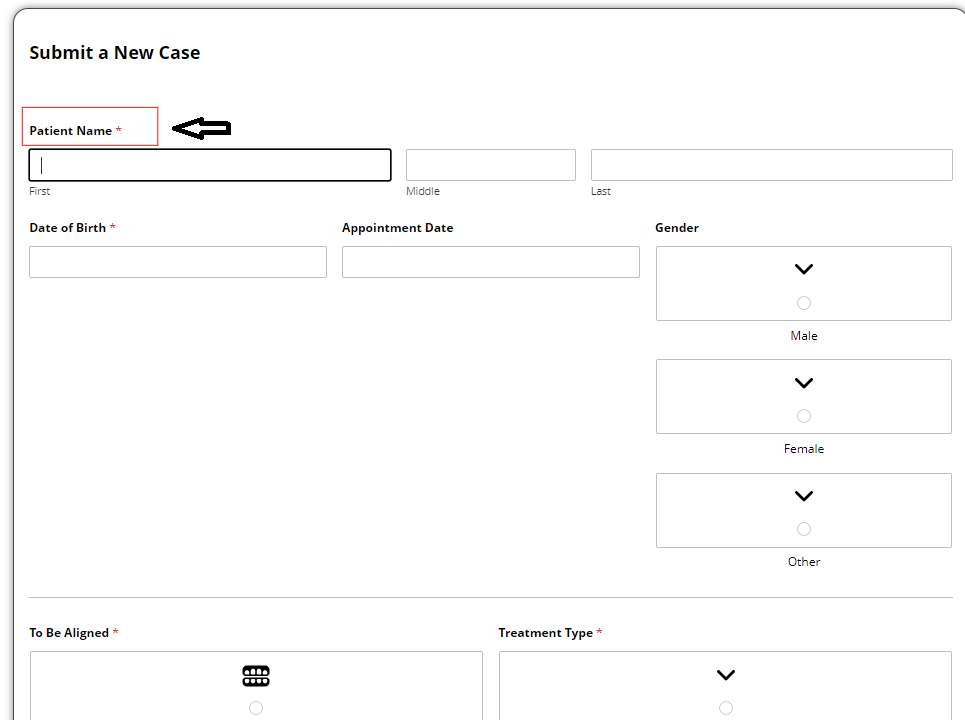
Saving and Resume Later
You will find a Save and Resume Later link at the bottom of every page. You can use this feature to continue filling out the form later from another device. This could be useful if you want to use your phone to take patient pictures for upload

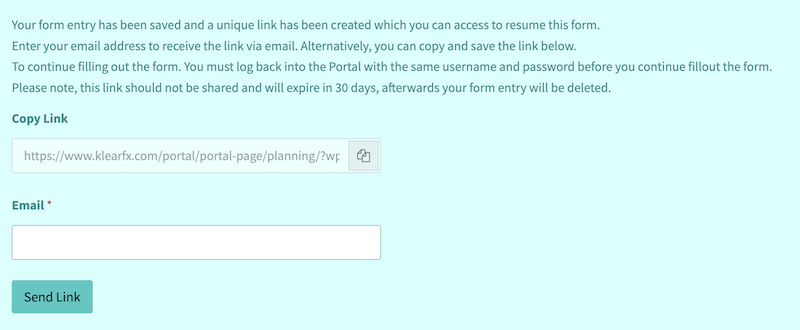
After clicking the Save and Resume Later link. You will be redirected to enter your email to get a link to continue. Please user your email on file to avoid any mistakes.
Instructions and Indications:
In many sections of the form we will ask you for your preference to treatment plan the case. Below, you will find the Attachment section as an example. The same logic applies to other sections in the form (IPR), Movement Restrictions, Missing Teeth, Existing Implants etc.
Attachments
No Attachment: Self Explanatory
As Needed: Our doctors will decide the kind and placement of the attachments.
As Indicated: A new section will appear to give you the opportunity to select the tooth or teeth to place on attachments
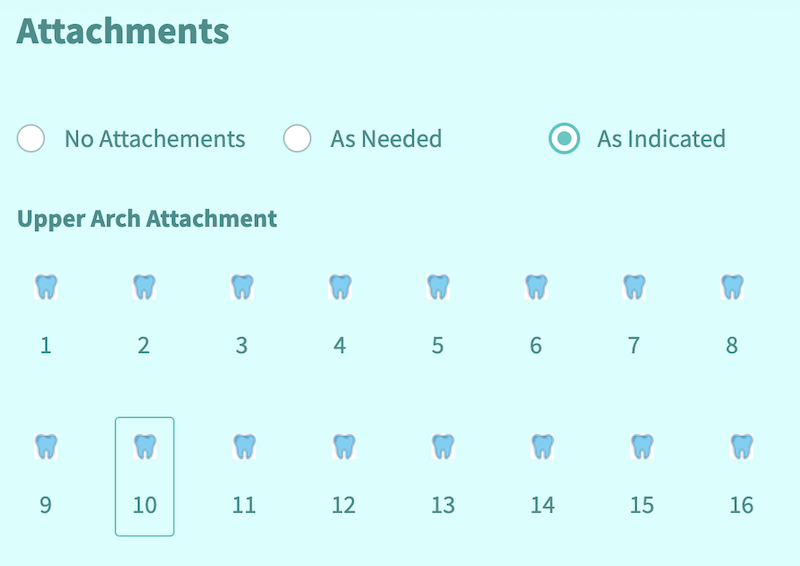
Feel fee to modify the pre-define selections as needed.
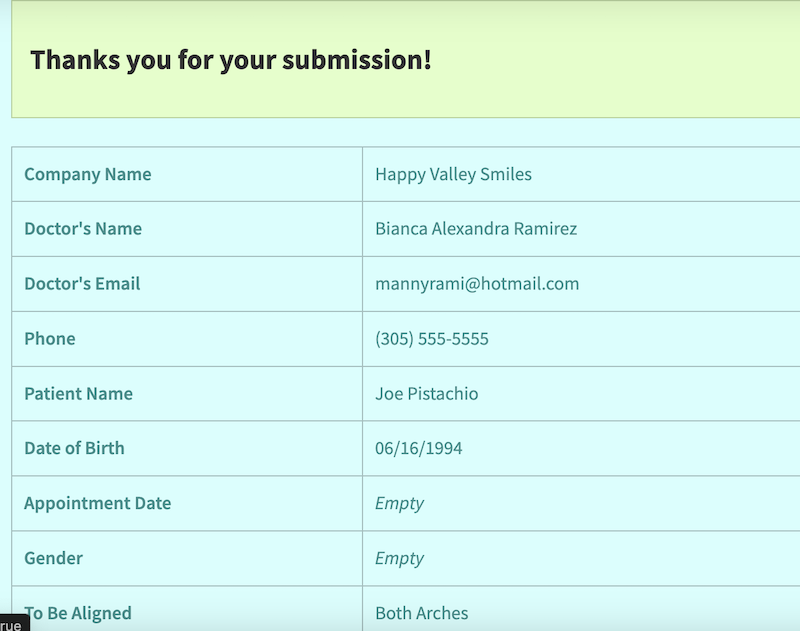
Follow the form and hit the Submit button to send your case for treatment planning. A summary page will display at the end with the information submitted.
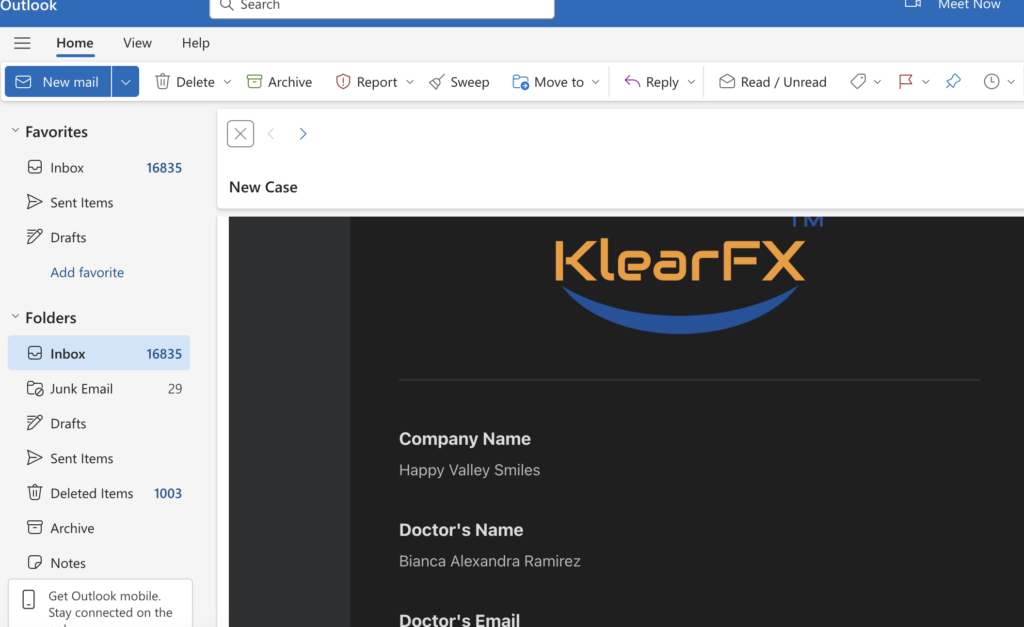
You should also get an email notification. Check your Junk mail just in case.
After submitting your case. The case will automatically appear in the Case Detail List Module


